Friday, December 16th - The students have completed the 3D design class. They have the basic knowledge of 3D design and are ready to do great things. What are those things? I don't know, but I do believe that 3D design will be a big part of their future. Keep using the program, because like anything else... practice makes perfect. I am always available to answer questions and would love to see what else you design. Good work everyone!
Friday, December 2nd - Nothing new was taught this week. Instead, the designers went to work right to work and problems came up that were discussed and solved. No class next week, becuase of the Parent/Teacher conferences. The final class will be the following Friday... 12/16.
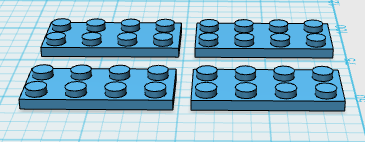
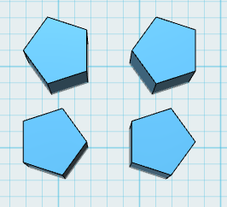
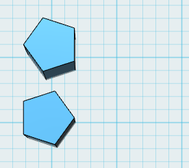
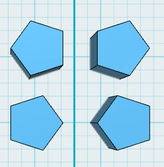
Friday, November 18th - The students were shown the steps to mirror an object. Why not just copy and paste? Wouldn't that be easier? That is what the students said and they are good questions. Mirroring and copying/pasting are different. Copy/paste will give you the exact same objects. Mirroring will give you a reverse or the object. Think of it as looking in the mirror. The object you see is the same, but reversed. Check out theses examples...
Copy/Paste |
Mirror |

|
|
|
|
|
|
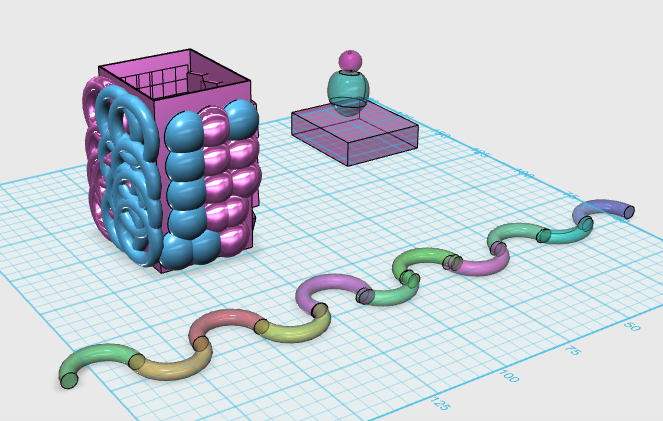
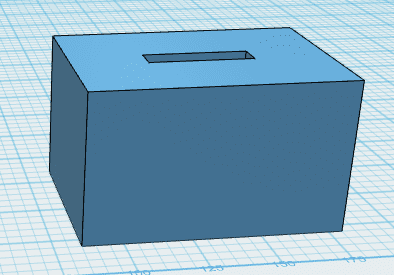
Friday, November 4th - A good number of kids are working with the software at home and few submitted designs. We spent some time learning how to "trim" a sketch. "Trimming" allows the designer (kids) to create 3D object from a 2D sketch. In English, that means that they can accurately sketch a shape and remove parts quickly and accurately. They would then raise the sketch to a 3D shape (check out the pictures to the left). Is this the only way to create this 3D piece? No. I have found that in 123d Design there is usually more than one way to do what you are trying to do. That is why we also looked at other ways of subtracting from an object. Instead putting a cylinder through a box and subtracting, you can sketch a circle on the box and extrude (negative) into the box. This will turn it to a red cylinder and will remove that shape when you press enter. It makes sense when you are working with the software and this is pretty advanced stuff.
|
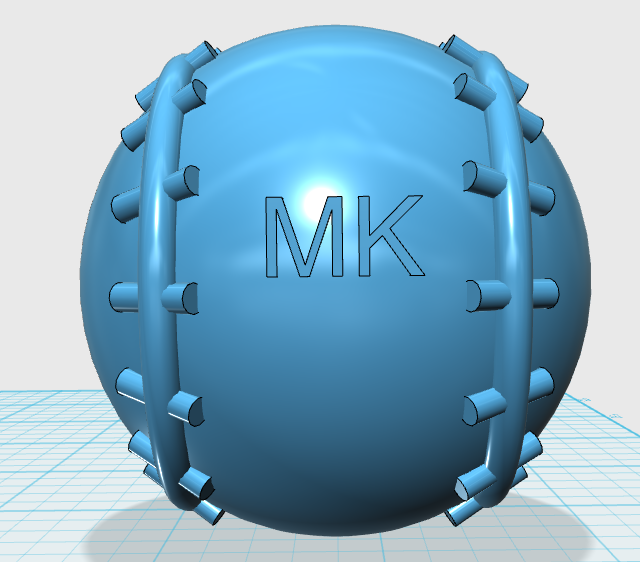
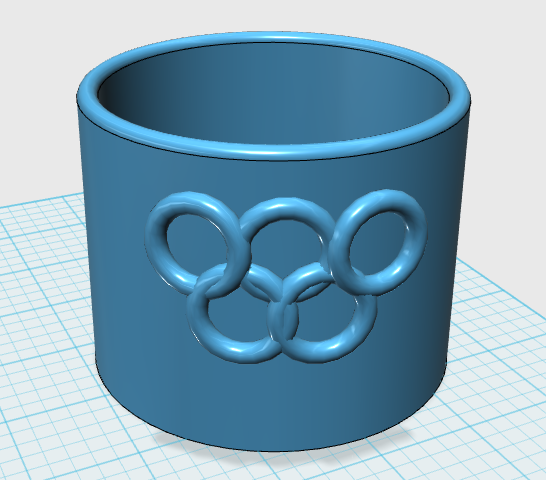
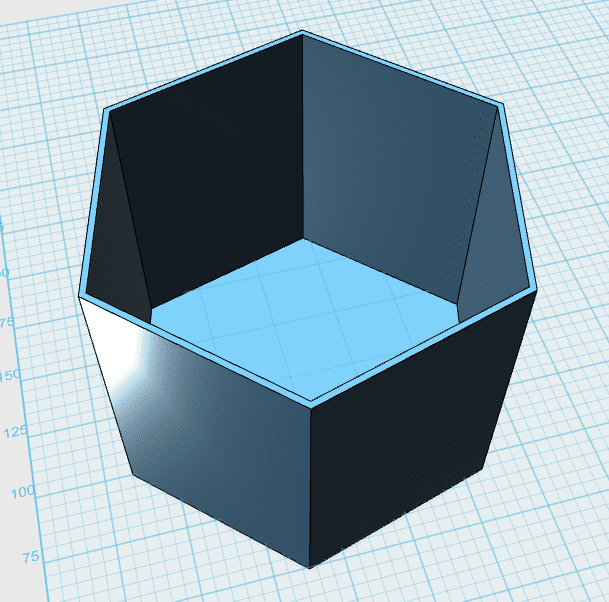
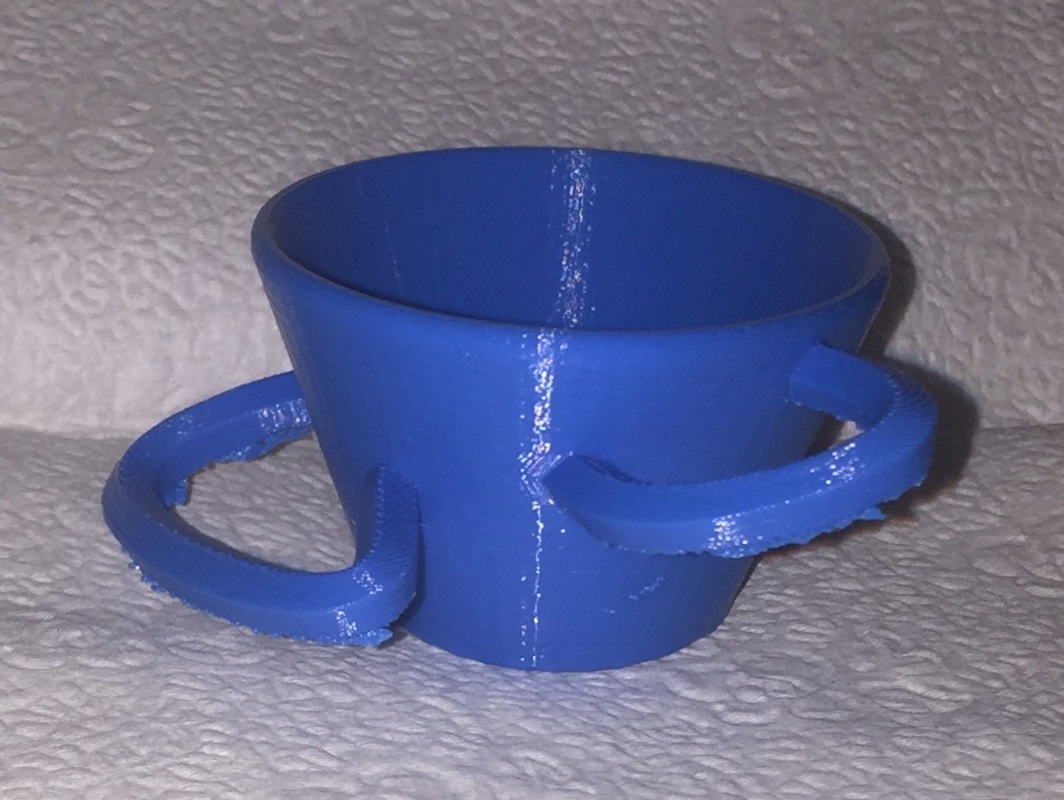 Printed Funky Mug
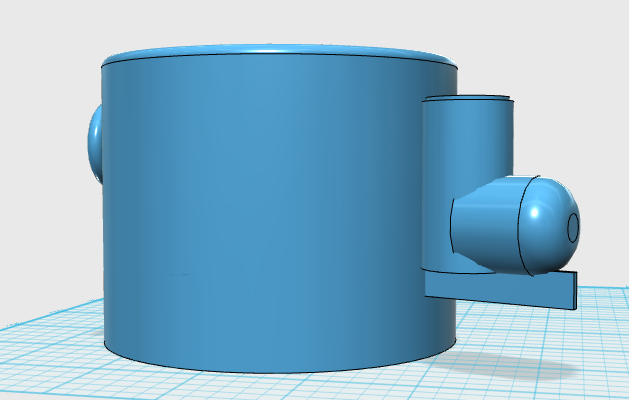
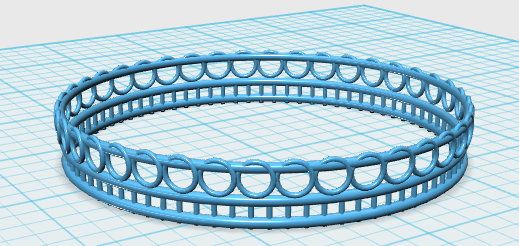
Friday, October 28th - The students were shown how to use the "pattern" tool. This would be used to evenly space an object around another object. What? Think of a gear. It is how you can have all the teeth spaced so that they would mesh with a copy of that gear. We also talked about logic. What I have found so interesting is creating something and then figuring out how to fix problems. There are a lot of tutorials out there, but most problems are unique to the object you are working. Once you work out the solution, it will always be with. You might even try something that doesn't work, but it solves a different problem. I asked the students how to eliminate the handle parts that were inside the mug. It sounds pretty straight forward, but being 3D/multiple angles... not easy. The solution... copy just the cup, lift 5mm (thickness of the cup) and subtract the copied cup from the handle. The inside of the cup still has the handle, but it is not connected to the original cup (copied cup has been deleted). I can now select those unconnected handle pieces and delete.
|
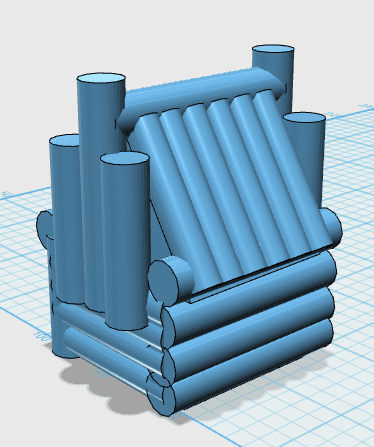
Friday, October 21st - We started class by talking about some of the work the students have created and hurdles encountered. It is great to have the students bring up their issues, because other students are probably having the some problem or will at some point. We learned how to use the "sweep" tool. This allows the creation of curved shapes. An example is a unique handle on a mug.
|
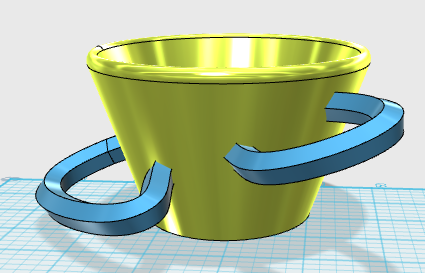
3D Designed Funky Mug
|
Friday, October 14th - The class learned how to use a few new tools... splitting and subtracting. You never know when you will need these, but they will use them. Check out the nut and bolt below. A student used the splitting tool to split a torus (fancy word for a ring/donut shape). Next, they rotated both halves in opposite directions, attached the ends with the magnet tool, copy, pasted, lifted, and ended up with a spring. They inserted a column inside the spring and subtracted the spring... threads on a bolt.
Friday, October 7th - Line Tools. The students learned how to use the line tools to create their own shapes. There are a few line tools, but we will be working with Polylines and Splines.
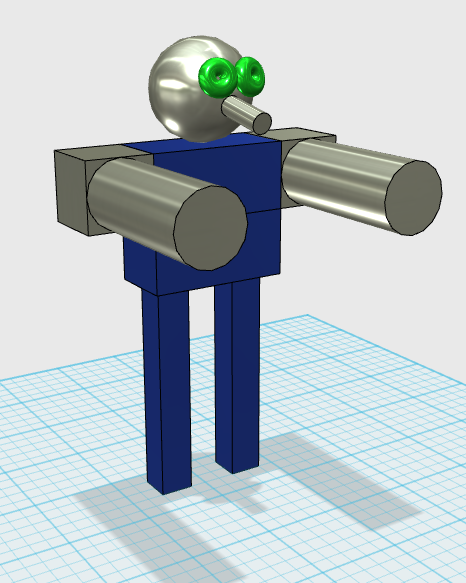
Friday, September 30th - The first day of 3D Club went well. We spent some time talking about what 3D design is and where it is headed. The students got to work on the laptops and try out the design software. We started with the basics and the kids seemed to do well. The best way to start is by putting together the basic building blocks/shapes that are called "Primitives" . The kids were interested and I think they might be asking you about getting the software to use at home. Don't worry... the software is FREE!!! Click here for the link to download... 123D Design.